
SECRETS: How to make the easiest bunting…EVER

IF you’re in need of some fabulous bunting for a wedding, party or baby’s nursery, then listen up folks because this is THE post for you.
Here’s how to make the easiest bunting in the world. And I promise you, there is absolutely no needle and thread in sight. Ready?
You will need:
- Fabric – ideally at least three different designs. For my bunting I used five.
- Pinking shears – (Top tip: you can pick up a decent pair of fabric pinking shears on eBay for less than £6)
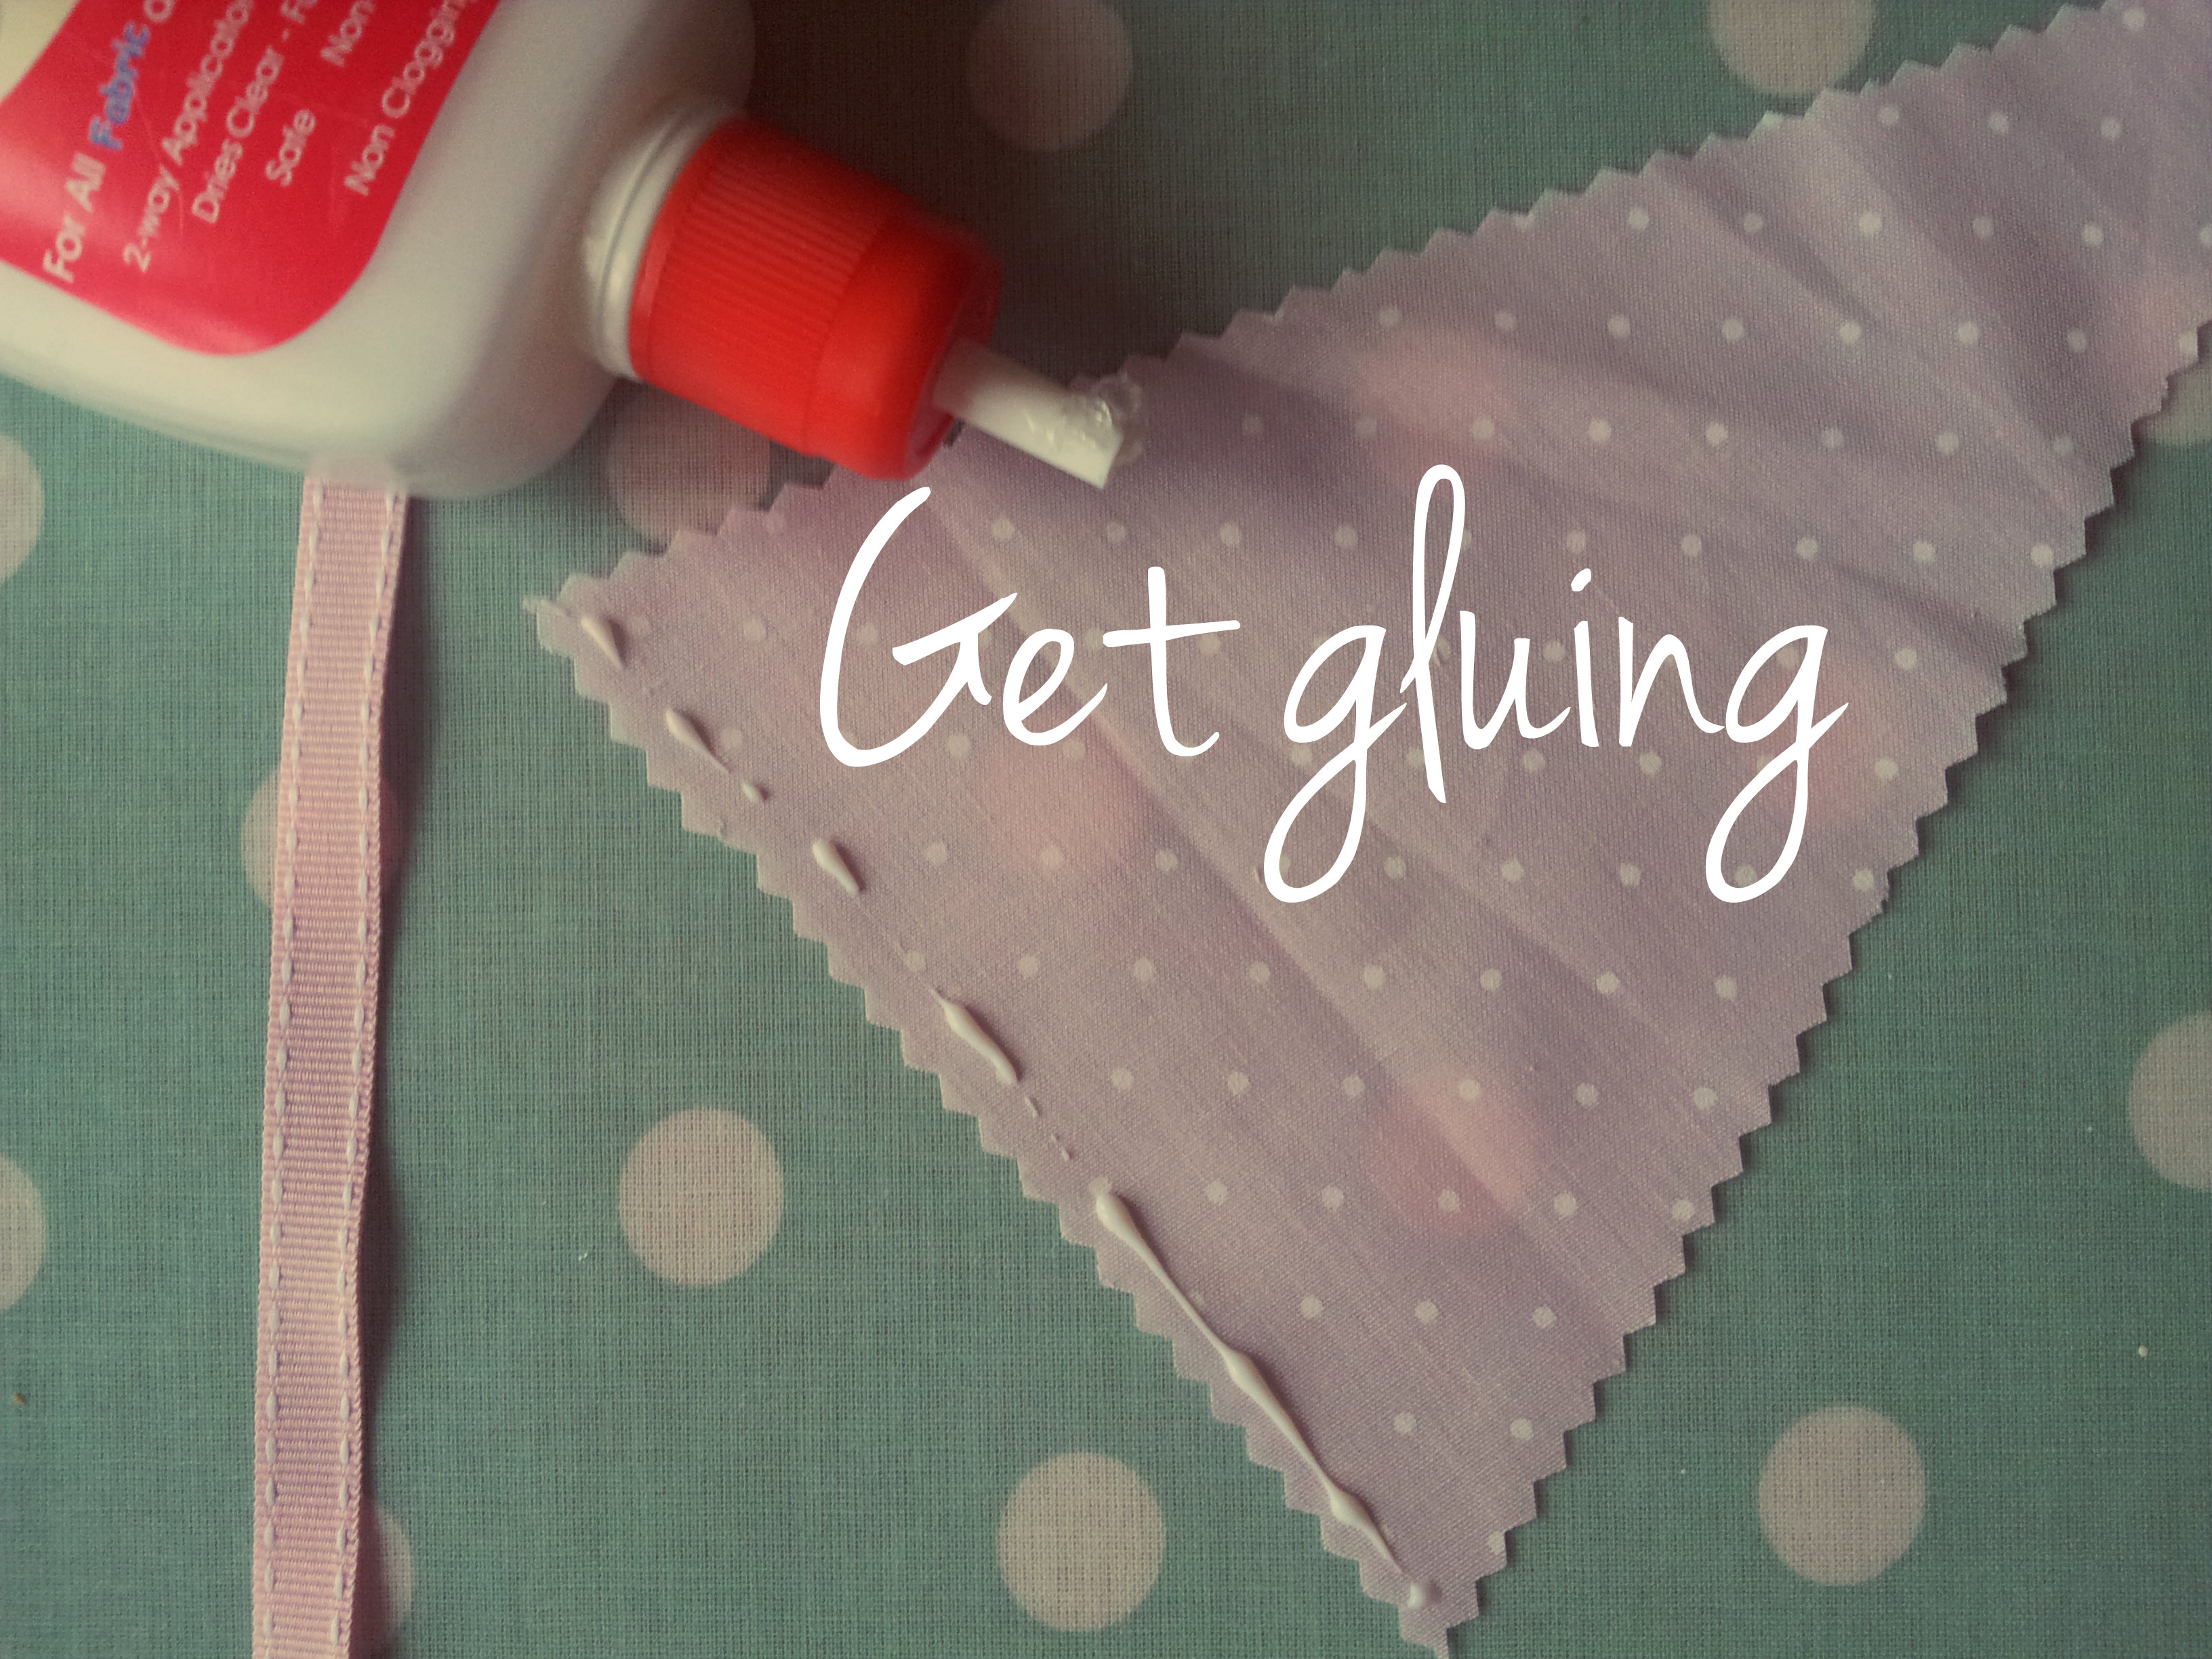
- Fabric glue
- Ribbon
- Tailor’s chalk or a pencil
- A triangle cardboard template
- Measuring tape or ruler
Here’s how:
Step 1
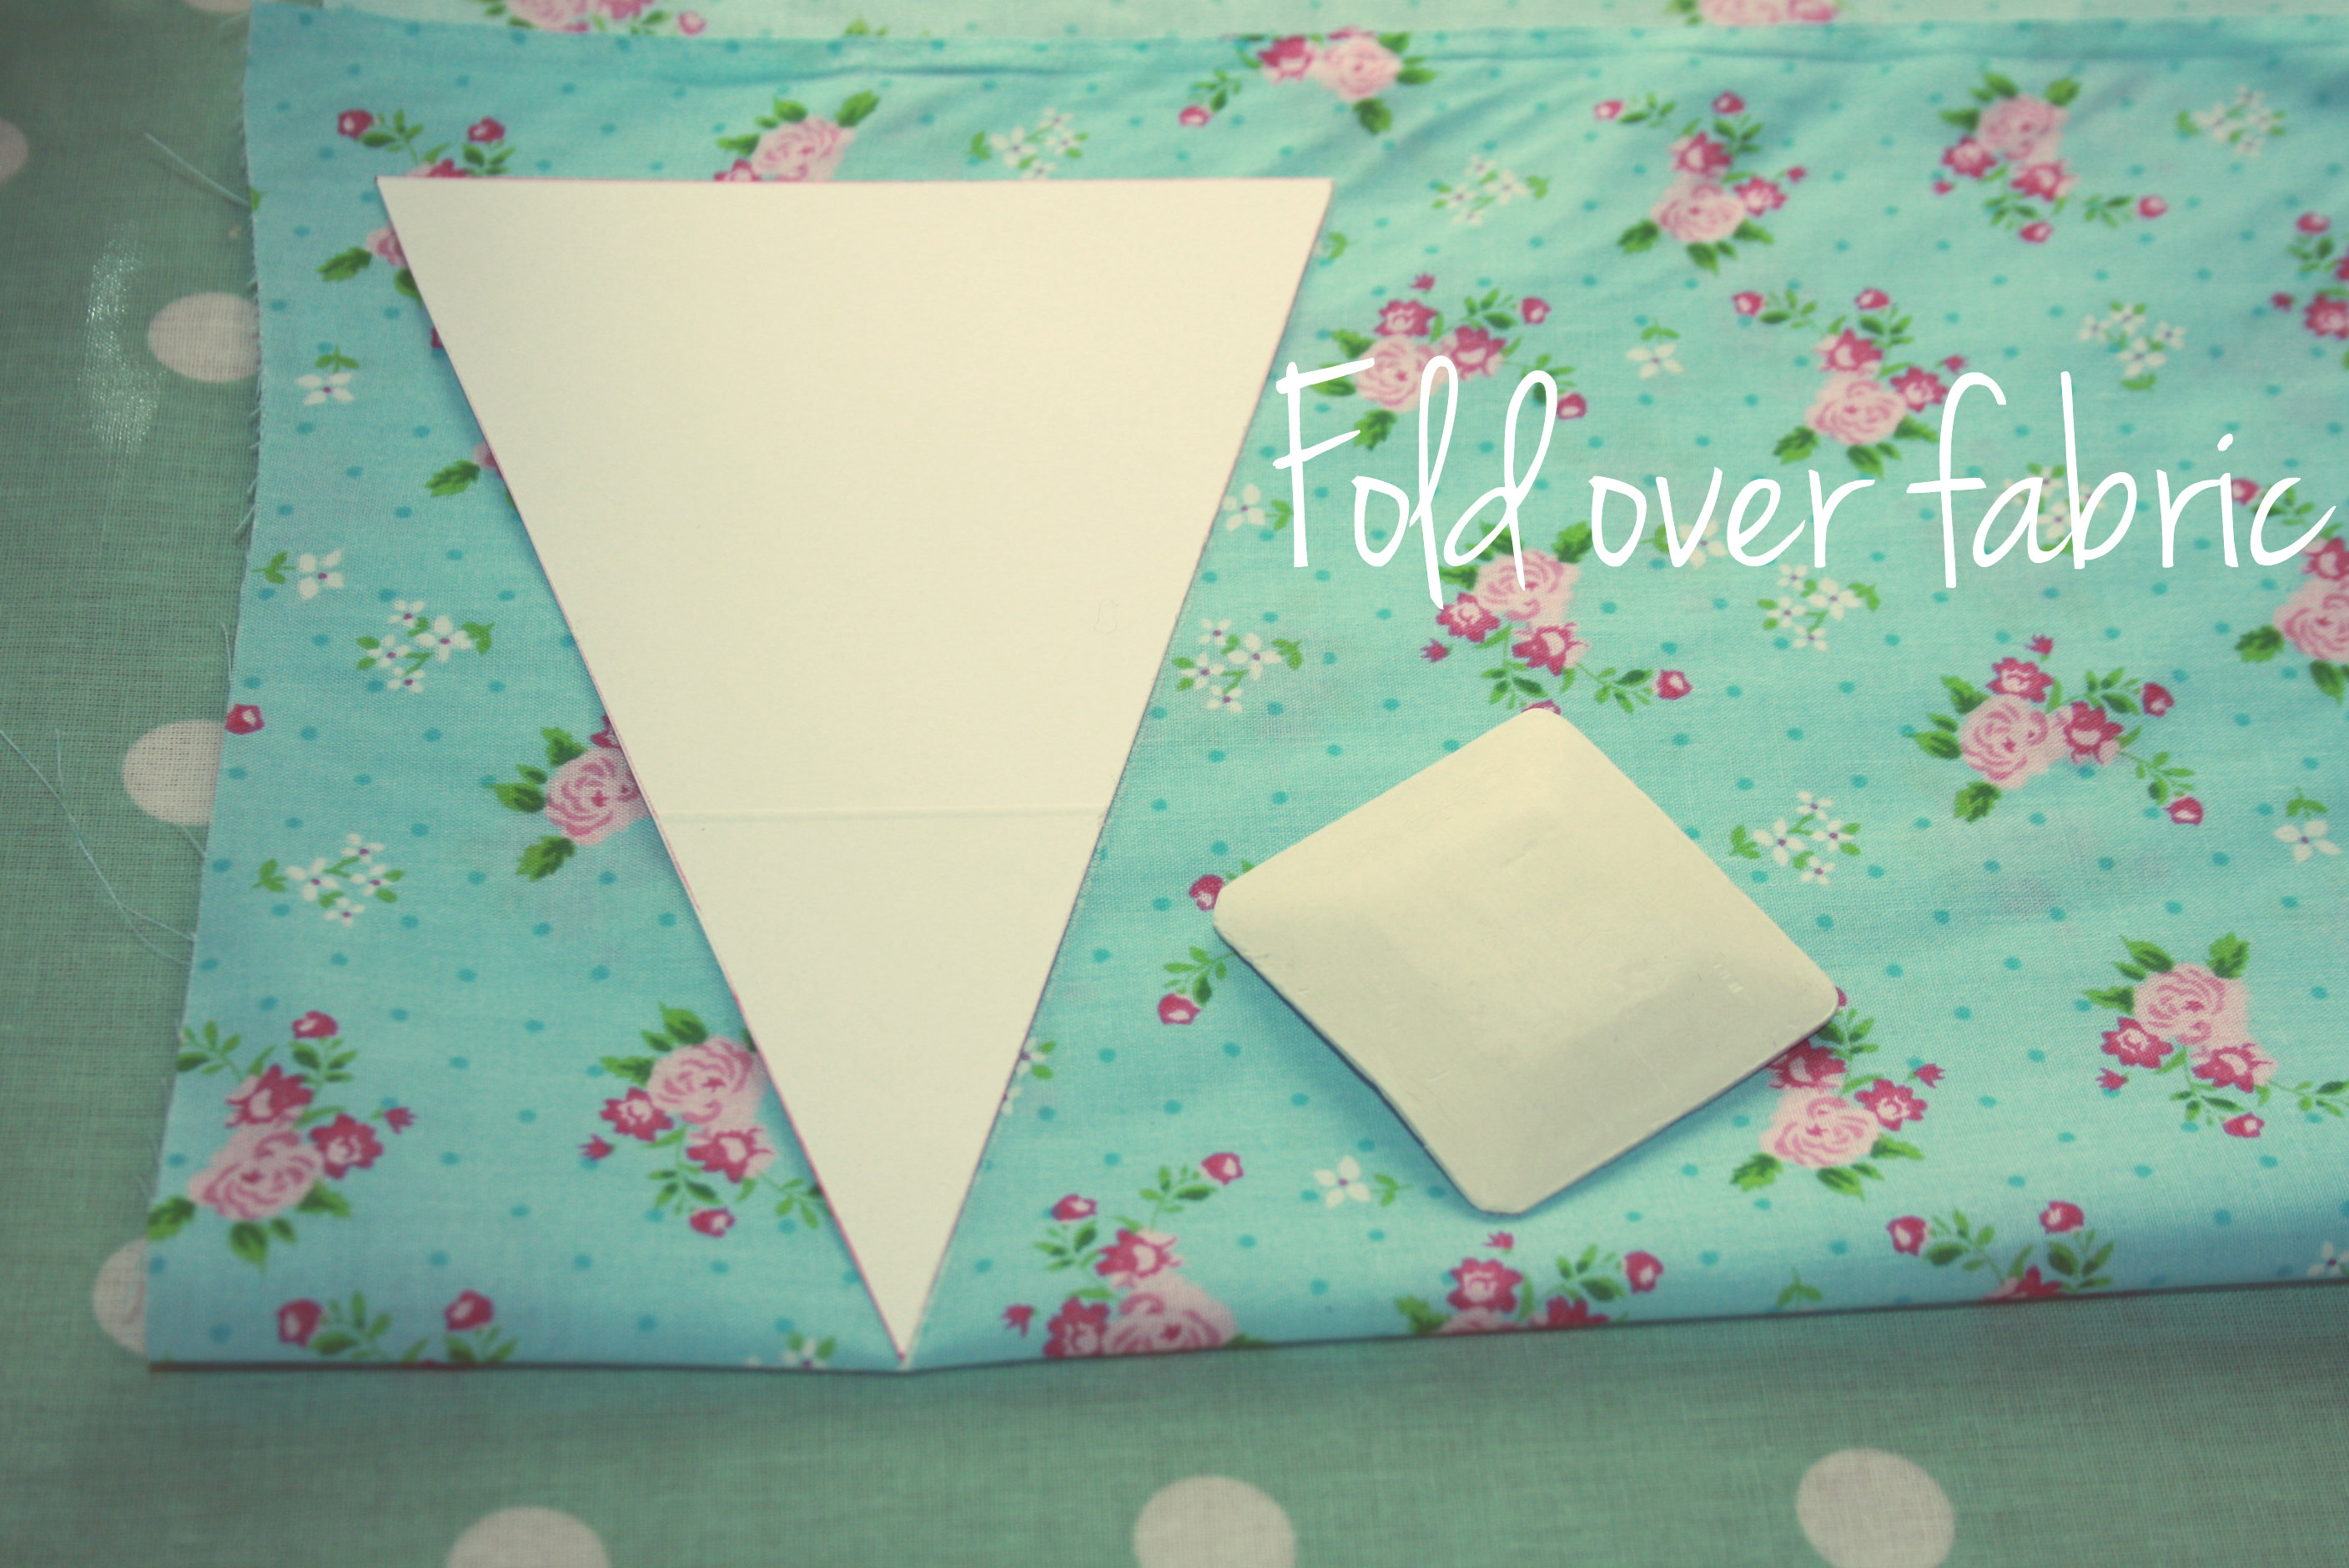
Take your first fabric and fold it over, making sure you can fit your triangle template on it. Give yourself a little gap at the top and sides but be careful not to leave too much room. The idea is to waste as little fabric as possible.
Step 2

Starting on the left hand side, take your cardboard template and draw around it on the fabric, preferably using a tailor’s chalk (which will easily dust off later) or a pencil. Once you’ve drawn around the template once, repeat until you’ve created a row of triangles.
Top tips – To make the best use of fabric, do one triangle then the next upside down and repeat. Also, to prevent the fabric sliding and to help with the cutting, you may want to use tailor pins to hold the fabric in place.
Step 3
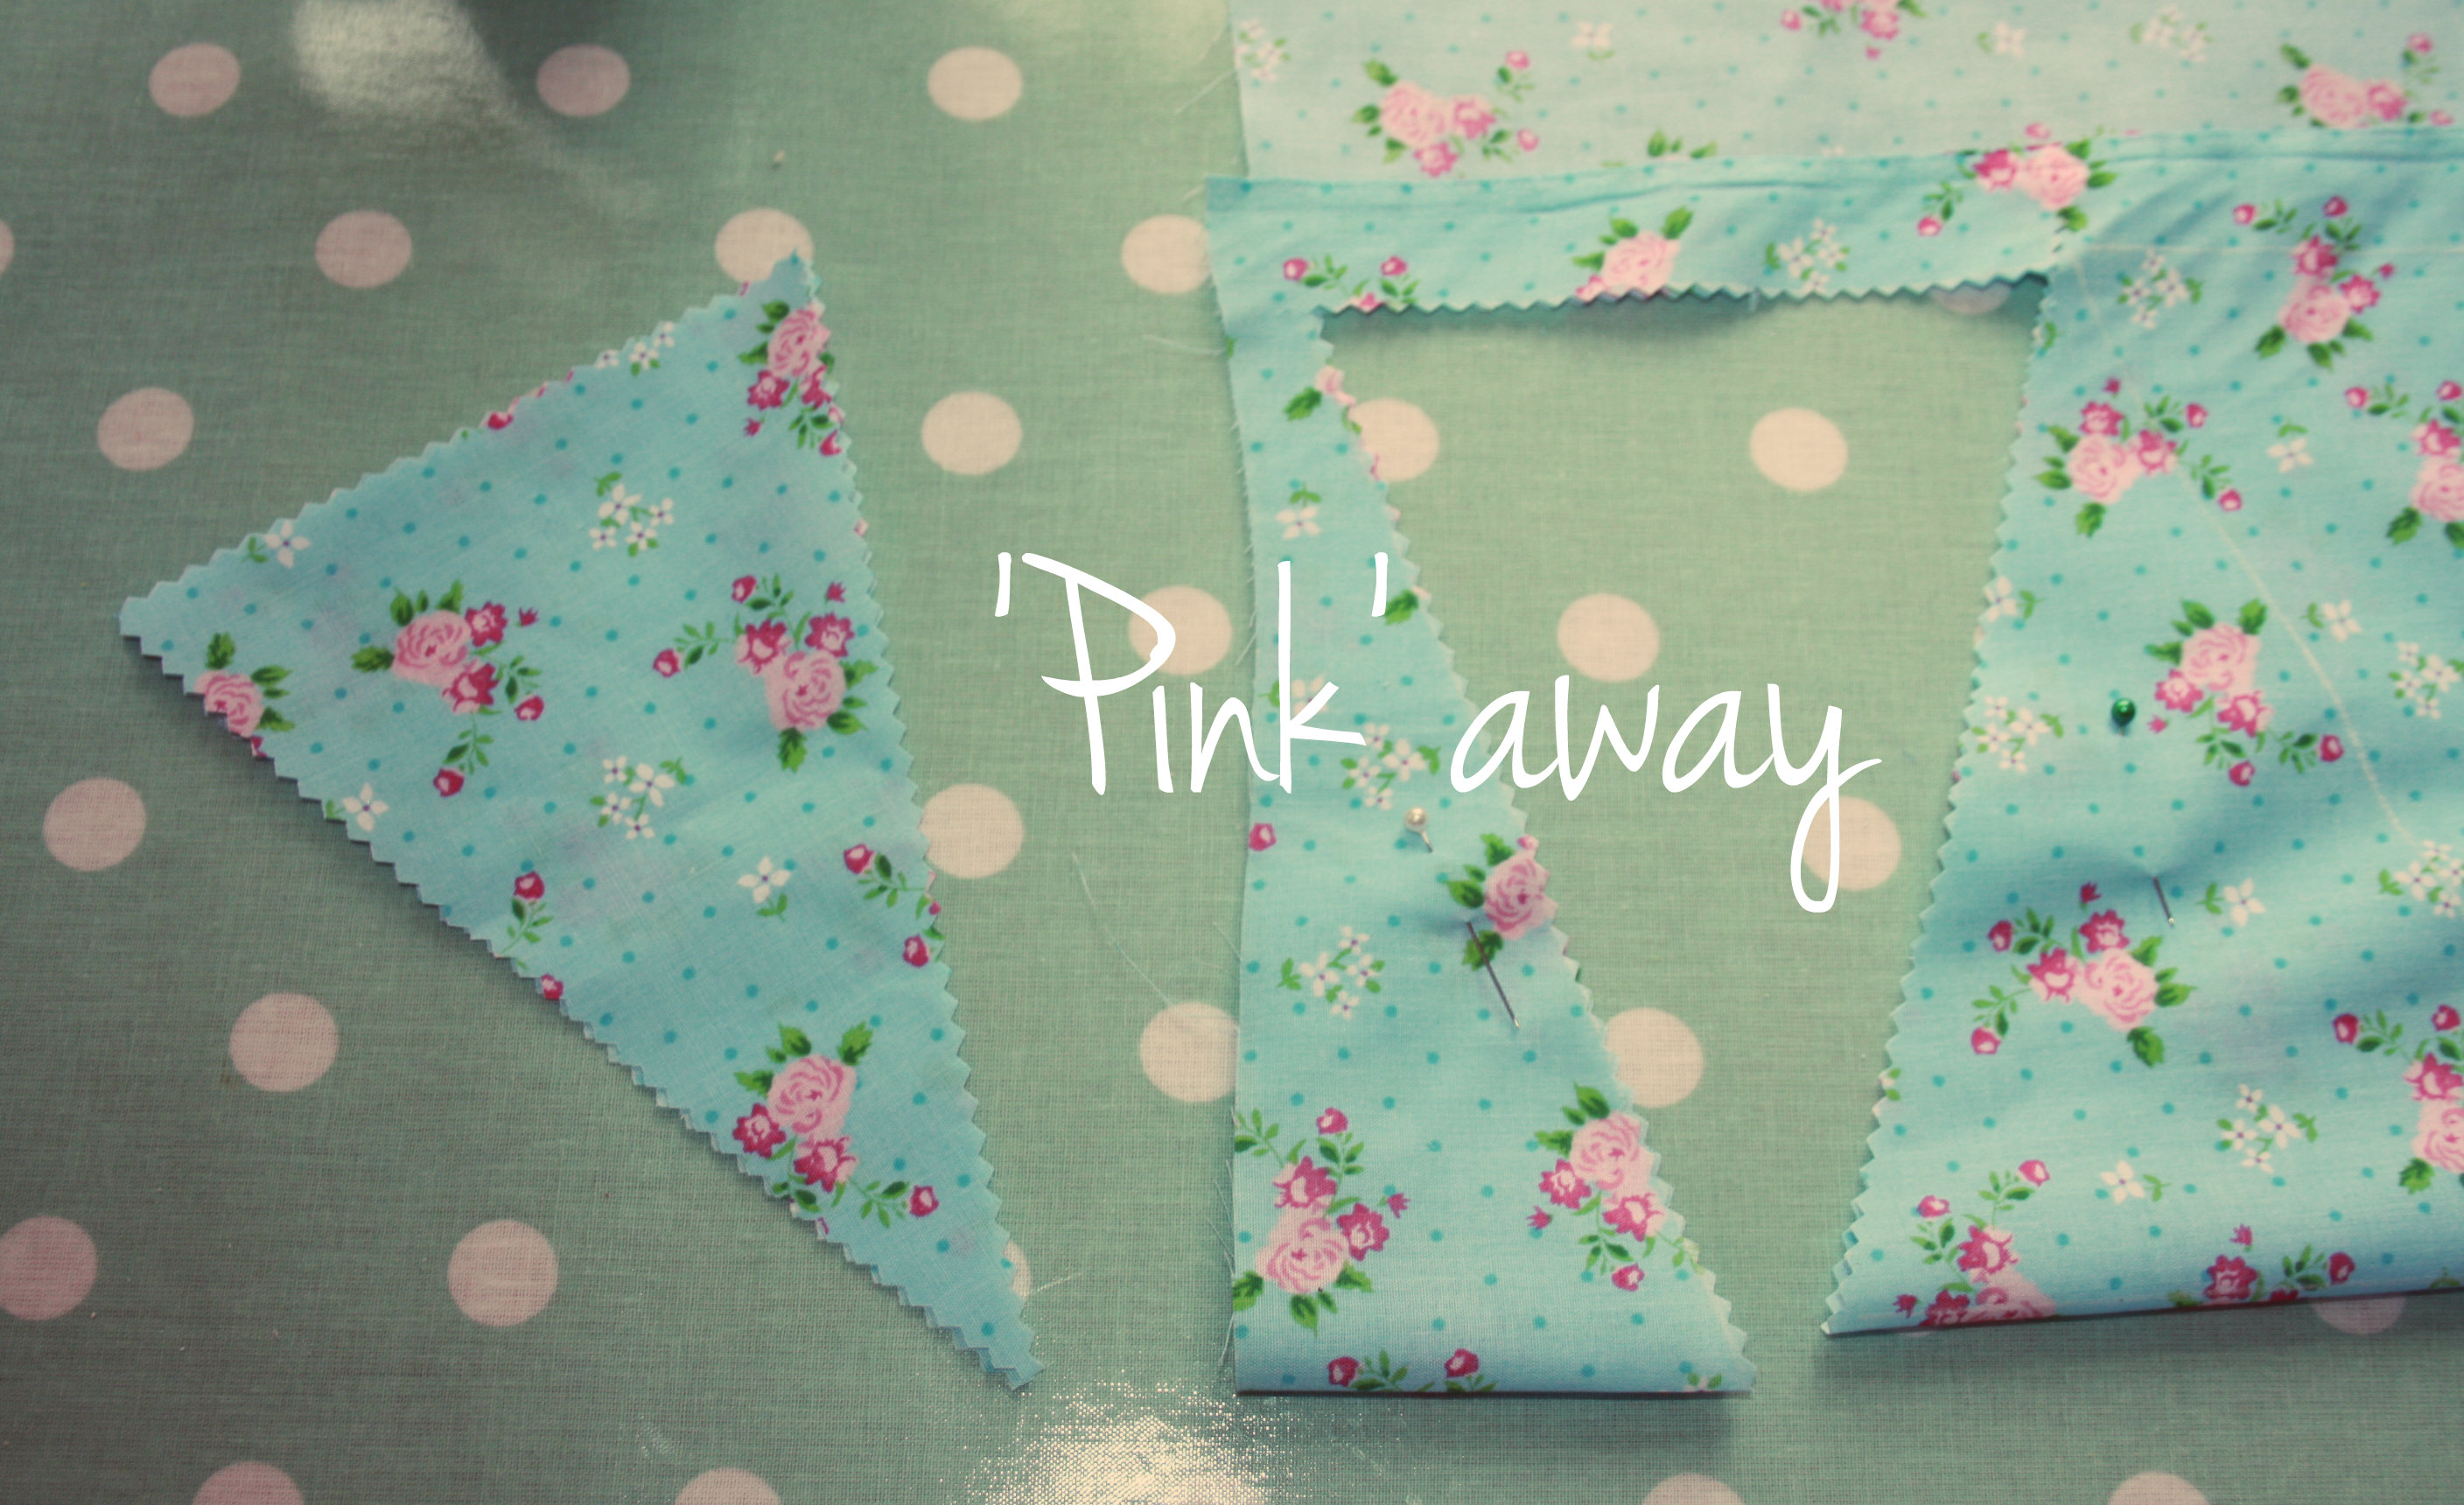
Using your pinking shears, cut out the triangles.
Step 4
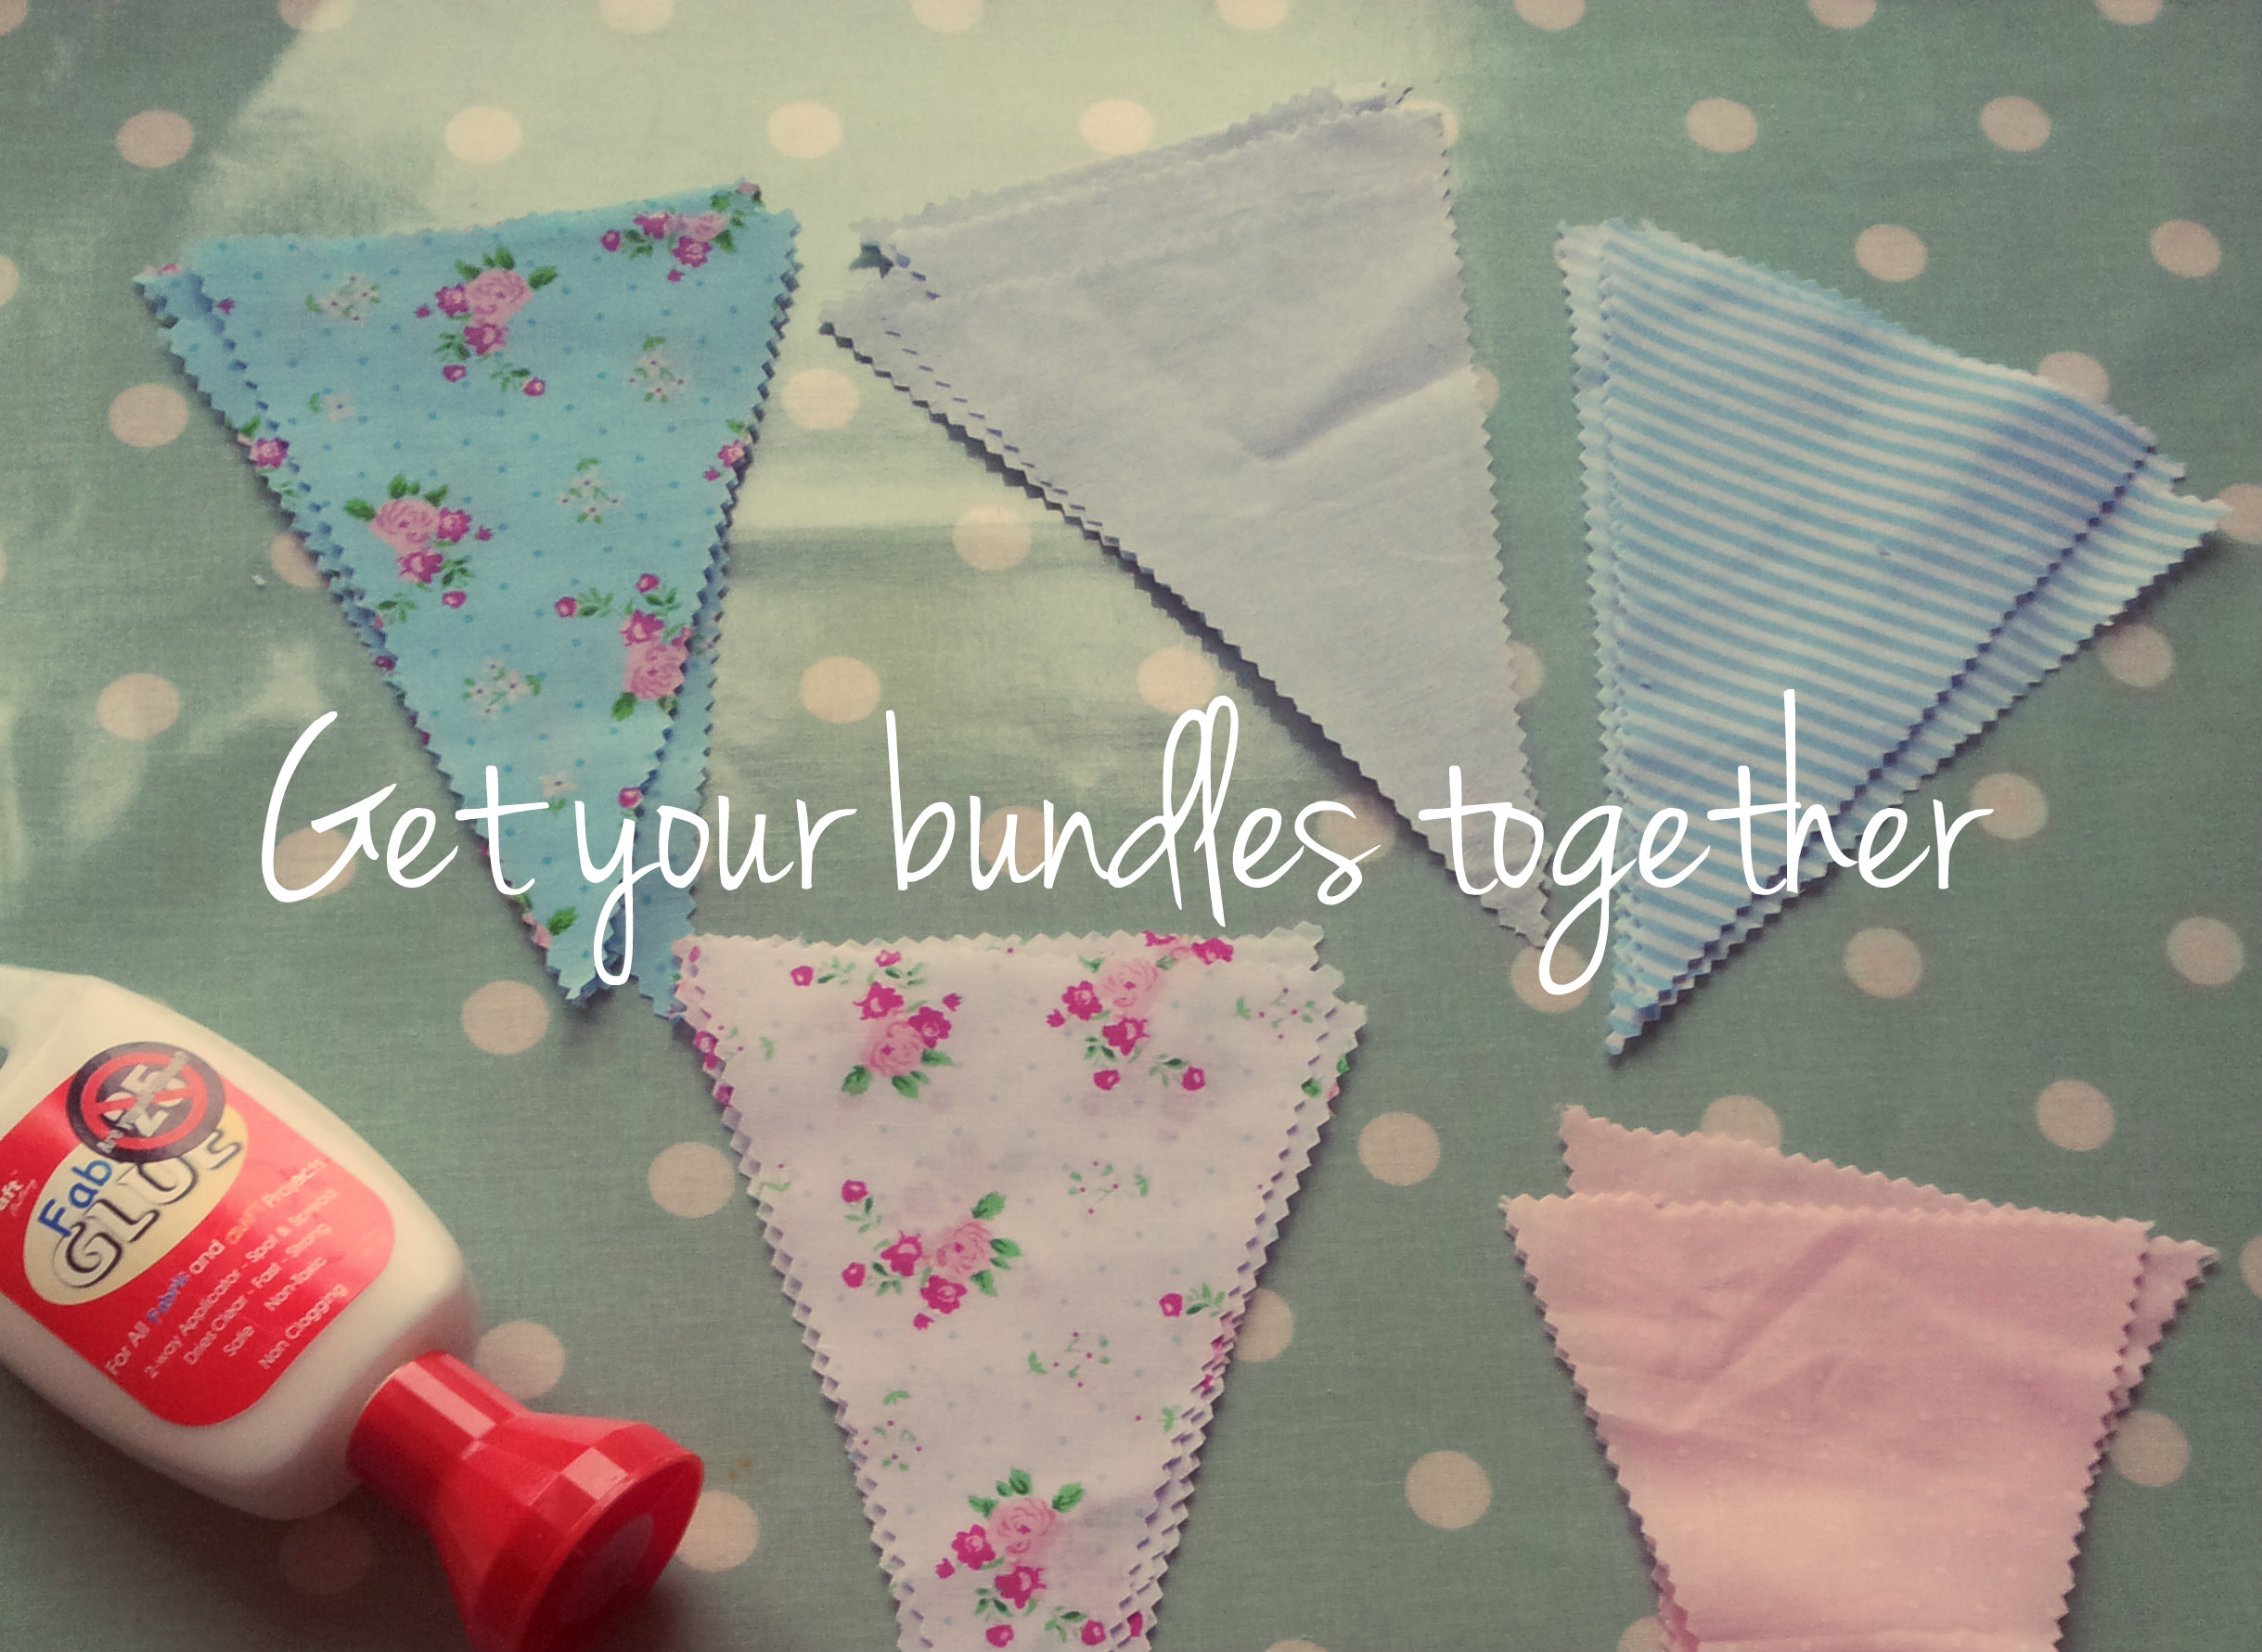
Repeat the above steps with all of your fabrics, until you are left with bundles of ‘pinked’ triangles.
Step 5
Lay your chosen ribbon out back to front on the table. (I used various lengths for mine, so consider how long or short you want it to be too.)
Then take your first triangle, turn it over so the back is facing you and add a thin line of glue to the top.
Step 6

Attach your triangle to the ribbon, press slightly and remove any excess glue. Then repeat with your next triangle, ensuring you chose a different fabric.
To get them equally spaced, take your tape measure or ruler and measure the same gap between each triangle. I went for a 5cm gap but the choice is up to you! Go as narrow or as wide as you dare.
Step 7
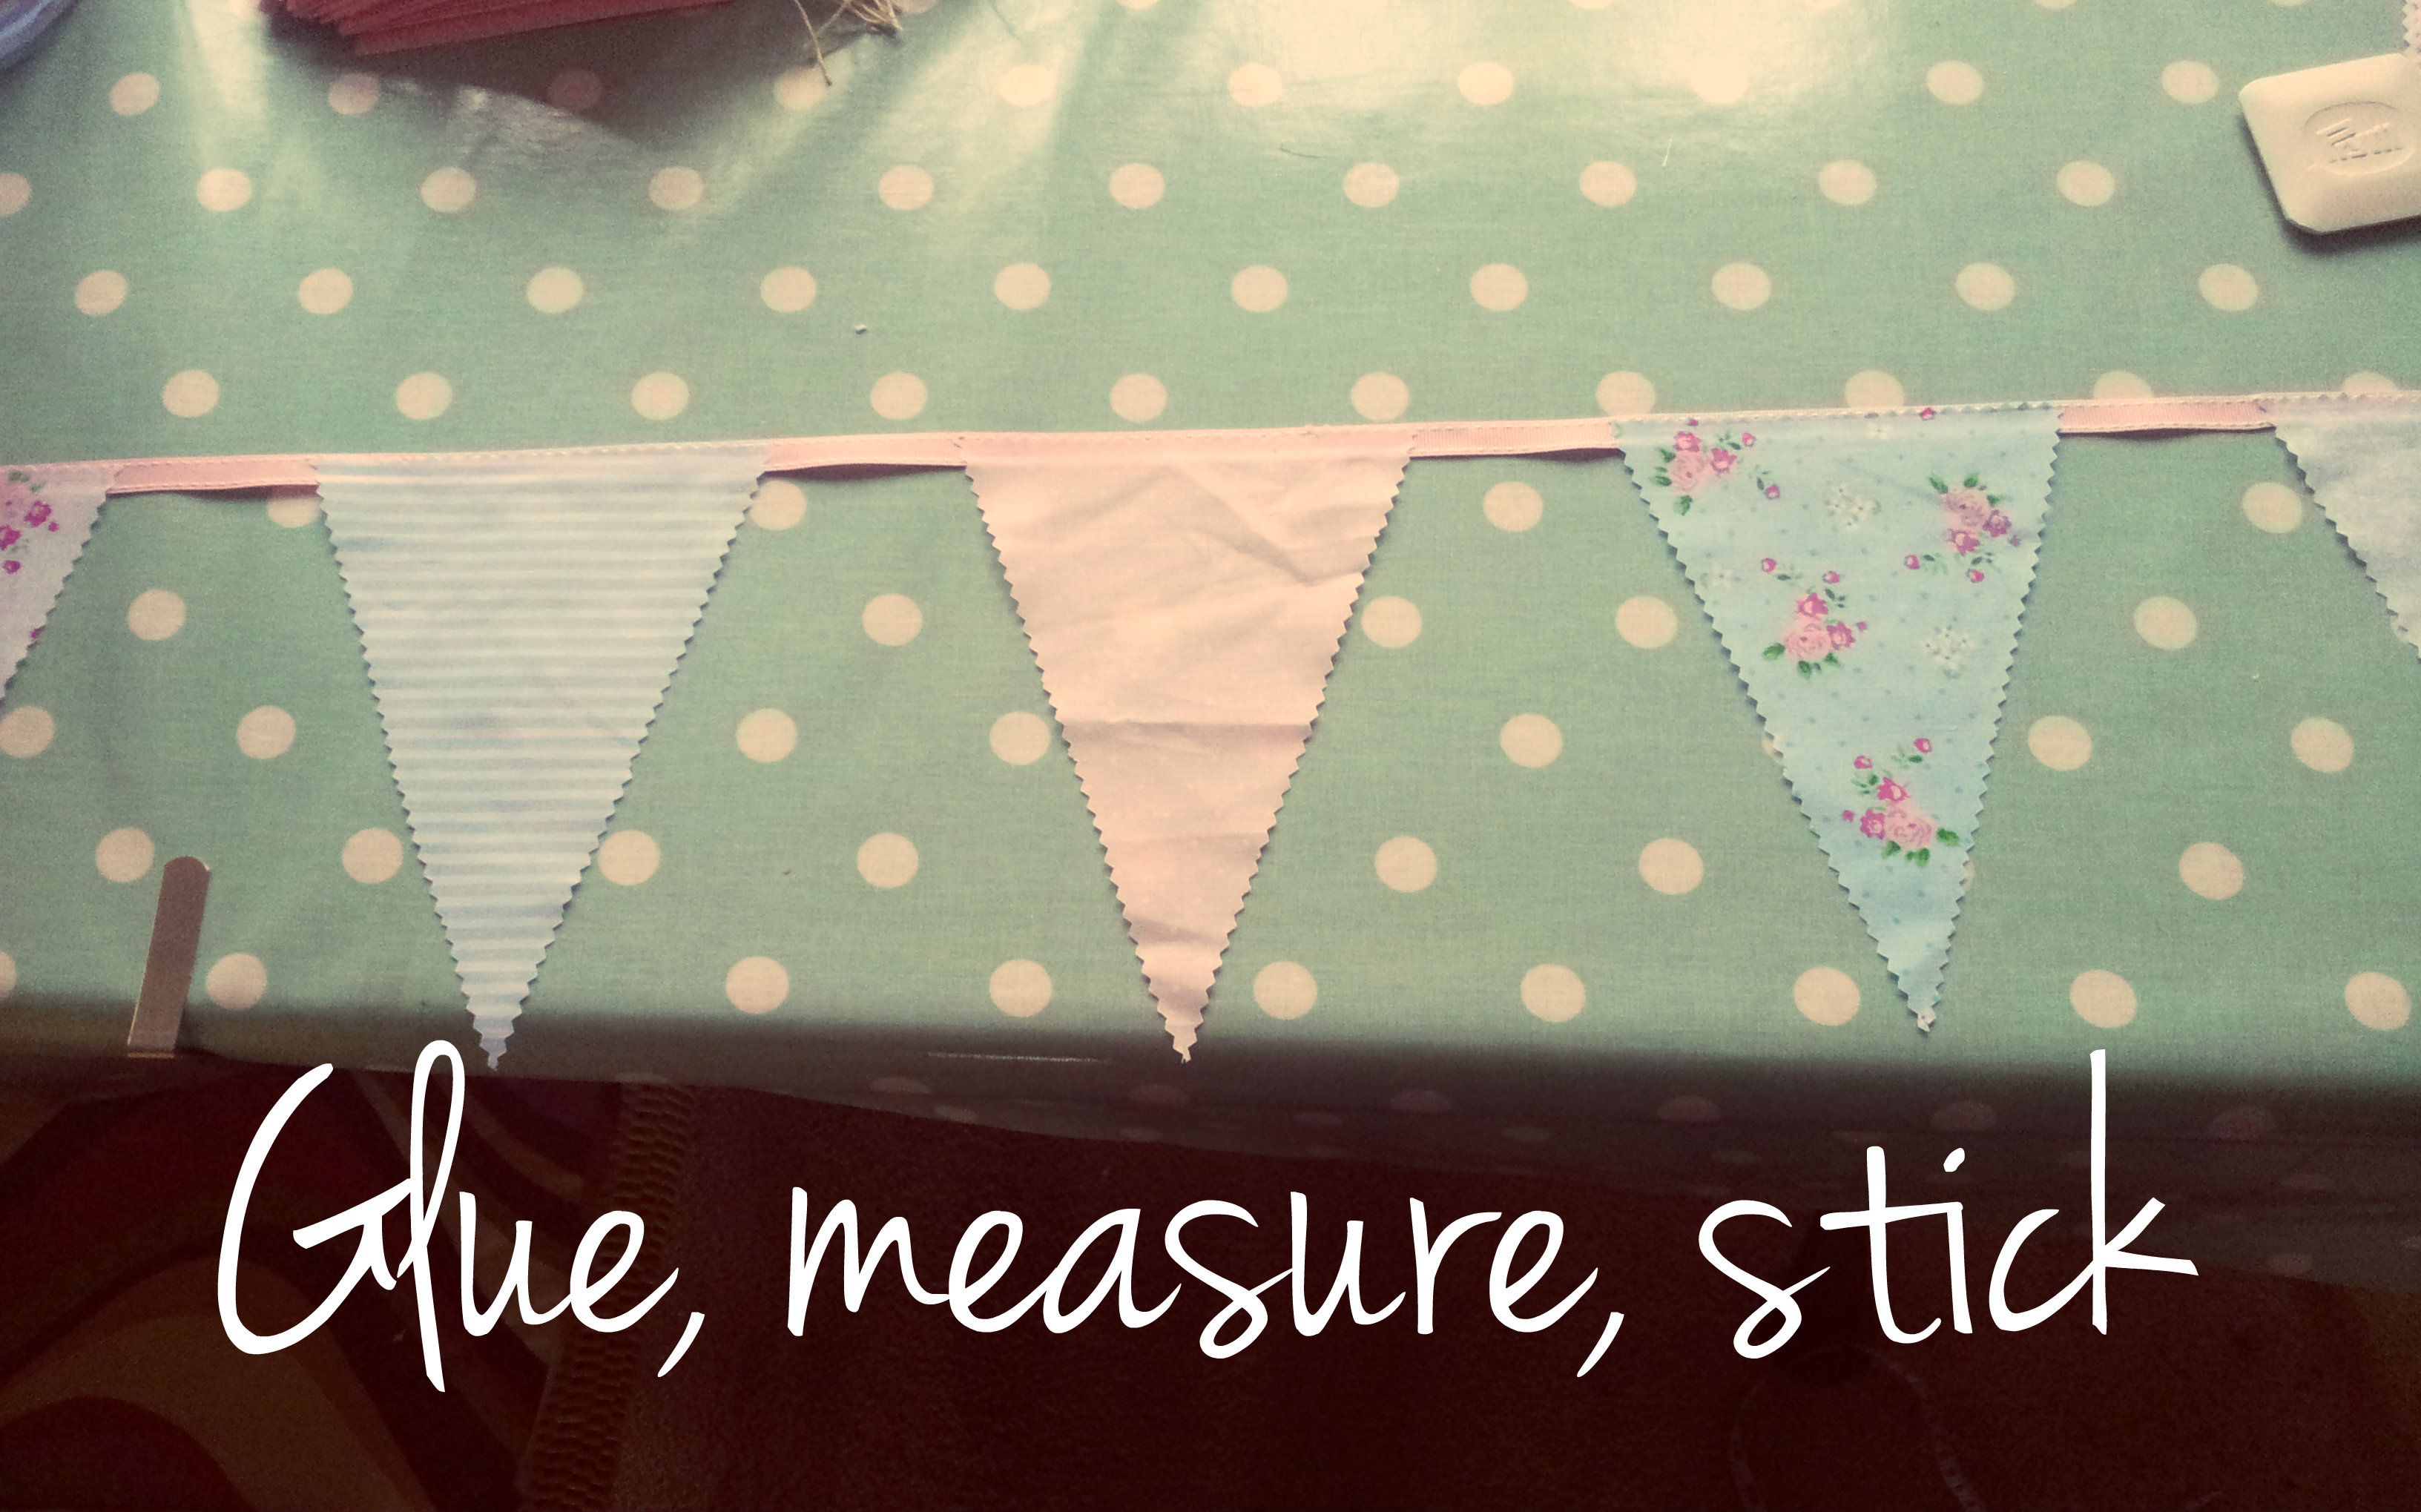
Continue adding all the triangles, alternating fabrics as you go, until you either run out of triangles or ribbon!
Then simply leave to dry, press with an iron to remove any creases (if you want them stiffer, spray with starch spray before ironing) and voila! Easy bespoke bunting made especially by you.
If you want to get extra creative, you could add letters, shapes or all manner of other embellishments to the triangles too. Although personally I think simple bunting like this, is pretty perfect as it is.
Step 8

Finally, hang it up for the world to see (and admire!)
Here’s how my bunting finished up. I used it to help decorate Elsie’s christening venue and adored how it looked on the day. It added just the right amount of femininity and charm that I was aiming for.
So what do you think? Have I inspired you to have a go? Have you any bunting secrets to share? As always, I’d love to hear your thoughts.
Till the next time, go and get creative!
Katie

*All images were taken and edited by me, bar the last one which belongs to my lovely friend Laura (seen here with her gorgeous boy Rufus) I love this picture so much, I just had to share it with you all x


LOVE this Katie!
Give me a kitchen and ingredients and I can conquer, but anything else? Argh, I’m useless! I am not crafty in the slightest and can’t even sew a button. True story…
However, I reckon even I could do this! I’m going to give it a go for sure. Thank you x
Thrilled to hear it! It really is ridiculously simple to make and actually, pretty good fun too, so you must give it a try.
I mean, who doesn’t love a bit of pretty bunting?! :) x
Oh I do love a bit of bunting! Super easy tutorial and means I no longer have the excuse that the sewing machine is in the garage and I can’t be bothered to find it.
Haha! Glad to be of service Suzanne ;-) Thanks for your lovely comment x
how simple and looks really nice aswell!
Fabulous! I shall use this trick at Christmas! Thanks! #brilliantblogposts
Perfect! Thank you so much for sharing, I’ve been looking for an easy tutorial for ages! x x
You are a genius lady, perfect quick and pretty bunting, love those cute scissors too! Thanks for linking up to #brilliantblogposts x